V3 – Increased Inspection Capability
CTPE Limited Increase Inspection Capability with Trimos Height Gauge
BOWERS GROUP CASE STUDY
Application Background
CTPE specialises in the manufacturing of high-quality CNC-turned and milled components, catering to a wide production spectrum, with production varying from low volume runs to quantities in the tens of thousands. Its expertise encompasses the fabrication of both straightforward turned parts and intricate mill/turn configurations, as well as prismatic machined components.
The company has been established for over 30 years, providing high-quality, precision CNC machined components to a range of high-tech industries including the medical, scientific, electronics, defence, and marine sectors.
Problem
Understanding the high-stakes nature of the businesses it supplies, CTPE identified issues with its previous setup, particularly in relation to a restricted measurement capability, and recognised the urgency of streamlining its processes.
The previous height gauge had limitations, particularly when it came to measuring various dimensions like diameters. This constraint posed challenges for CTPE, given the diverse needs of its clients.
Solution:
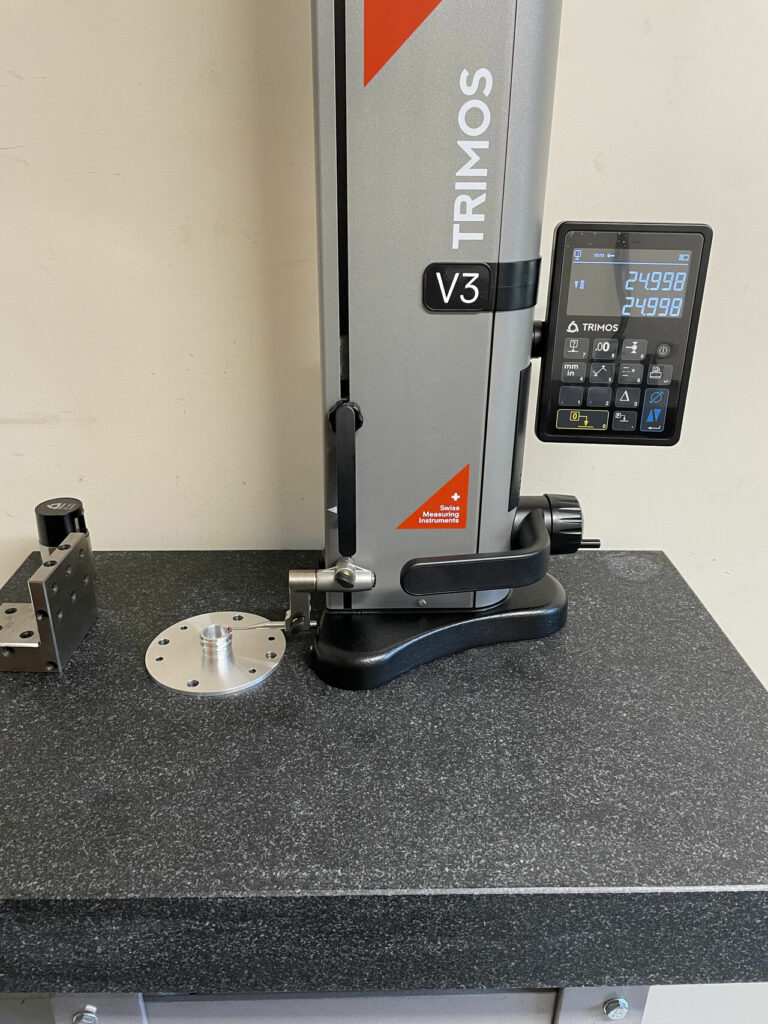
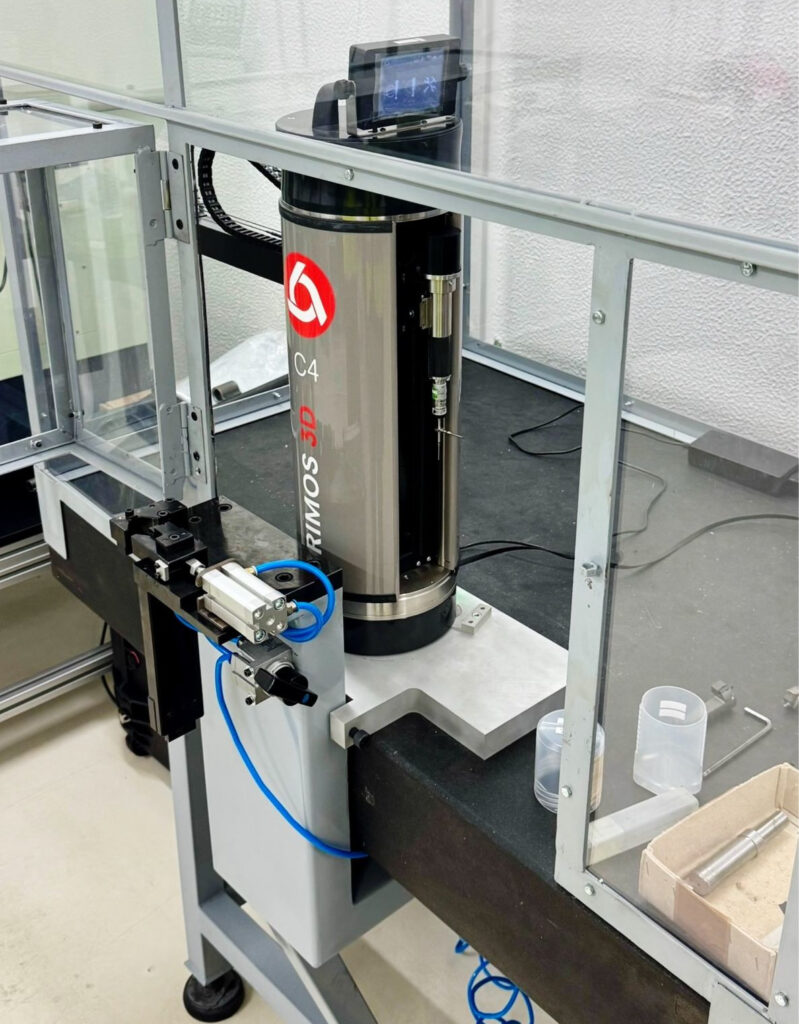
The solution came in the form of the Trimos V3 Height Gauge. The V3 is renowned for its ability to measure large components with exceptional precision. Its robust construction, combined with advanced measurement capabilities, aligned perfectly with CTPE’s pursuit of excellence.
The V3 Height Gauge boasts a measuring range spanning from 400mm to 700mm, ensuring versatility in its applications. What sets it apart is the large 2-line ‘Black Mask’ display, a unique feature in the market that guarantees excellent contrast, regardless of lighting conditions. Its user-friendliness has also proven to be a popular characteristic, with electronically adjustable measuring force and an easy-to-read display unit that provides direct and easy-to-read access to functions, enabling rapid operation.
With the Trimos V3 Height Gauge in place, CTPE’s inspection capabilities have taken a significant leap forward. Employed on a daily basis for conducting first article, in-process, and final inspections of milled and turned components, the Quality Manager and machine setters were notably impressed by the height gauge’s accuracy and repeatability.
The equipment excelled at precisely measuring the larger milled and turned parts that had previously posed a challenge, even allowing the team to measure specific features that were beforehand were simply not possible. Its precision and reliability made the inspection process not only more efficient but also more accurate.
Comment
Alex Taylor, Operations Director at CTPE Limited, said: “We chose to work with Bowers Group for this project as we have previously dealt with the company for other measuring equipment and have always been very happy with the service. The Trimos V3 is a great product from a famous quality Swiss brand and it has been a great addition to the Inspection department. It’s a quality piece of equipment which has helped speed up our inspection times.”
“It’s very easy to use, we can train new users very quickly and the accuracy and repeatability are very good. It enabled us to measure features that we were not able to previously do on larger parts.”
More about the Height Gauge V3
Note: Bowers Group is Trimos’ distributor in United Kindom. As UK agent, Bowers can exclusively offer its customers the full range of Trimos instruments
 Aberlink